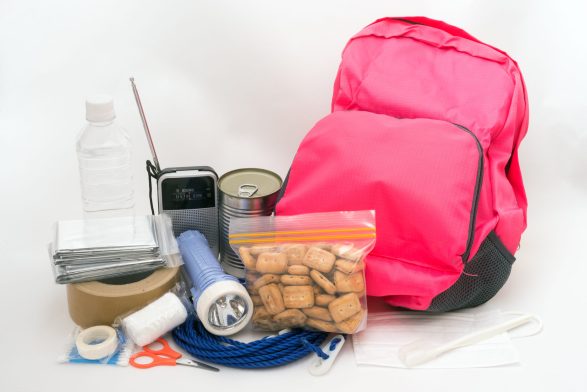
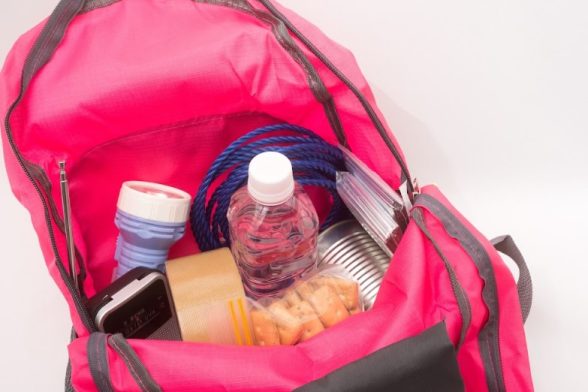
- Cover: A tarp or a rain poncho that can double over as a shelter is ideal.
- Cutting: a simple, fixed blade knife, such as a Morakniv fixed blade knife will suffice.
- Combustion: I’d recommend either matches or Ferro rod. While I typically prefer something like a Bic lighter, I’d prefer an option that won’t potentially leak the fuel out.
- Container: I personally prefer stainless steel water bottles that can be heated over an open flame.
- Cordage: having the ability to strap or tie items down will be useful.
- Cotton bandana: these have many applications such as a covering for your head, making a sling, or for pre-filtering water.
- Compass: being able to navigate and having a clear direction, especially if traveling on foot will be so important. In addition, you may want to consider a map of your local area.
- Communication: typically I recommend a two-way radio, but I wouldn’t want to store one of these in extreme conditions. Instead, having a signaling mirror could be very useful.
- Candle: normally I have a flashlight of some type for this C item, but exposing the batteries to extreme weather conditions could destroy it. Instead, having an actual candle would be beneficial. You could also include glow sticks.
- Cargo tape: I recommend Gorilla tape.
- Cash: having cold hard cash could be very important as stores may no longer be able to process credit cards if the grid is down.
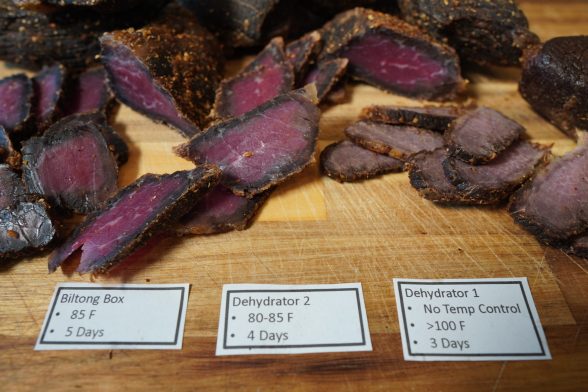
- Chow: I prefer options that are resistant to heat and have a long life span.
- Coffee: solid source of energy. Obviously it requires heating up water, so you may consider other alternative for energy such as these zipfizz energy supplements which you can add directly to water.
- Medical kit: a basic kit with bandages, gauze, another other miscellaneous items could be extremely beneficial to have.
- Emergency blanket: they’re small but could come in handy to allow you to at least survive the elements.
- Write in the rain pencil and notepad: useful if you have to leave a note for someone else.
- Water filter: Sawyer mini water filter. These are small, compact, and can process quite a lot of water.
- Deck of cards: if there’s room in your survival cache, consider placing a deck of cards in there. You may wish for the entertainment.
- Water: depending on your location and situation, water may not be readily available. For me, I live in a dry location so having a source of water on standby would be valuable. I would recommend setting up a separate container to store the water in case any of the water leaks.
- Put vaseline on the inside seals
- Wrap in a heavy-duty garbage bag
- Moisture absorber
- Oxygen absorber
- Some containers for changing oil can work. Look for the ones that have the 8″ish hole for the oil to drain into. If its just a pistol, ammo, and some survival stuff its a decent and inexpensive option.
- Dog food storage containers, especially those with gamma seals (but don’t trust them. Use that flex seal on the outside and vaseline on the inside).
- There are some large food containers for cereal etc. Water tight but not as durable.
- For very large stuff look at small fiberglass septic tanks. These have their own set of pros/cons but are an option if you are looking to do something big.
- Look around for companies that import drugs. Many drugs are made in Switzerland etc and they are shipped in bulk inside very durable, water tight containers. I’ve seen 15 and 30 gallon containers. They are USP grade and tough as nails.
- Get a vacuum sealer. Those rolls of bags can be slipped over an entire rifle. Not only that, if your outer container fails, you have a backup layer inside.
- If you are concerned about metal detecting, you can consider burying a bunch of old car parts, nails, tin cans etc. all over the area. Make it really unpleasant to find your stuff. Combine that with the decoy above the cache and you are good to go.
- You can accelerate the aging of the metal with acid.
- Make sure you can identify your location in the dead of night, rainstorm, under snow, you name it. Pick your spots so you can identify in any condition.
- Contents of caches. Think hard about what you will need. Money, ammo, food bars, guns, batteries (package carefully since they can leak), documents, survival blankets, etc. IDs can be a tricky subject. Do you want your cache loaded with the ID of the person who left it? This is a subject you can do an entire video on.
- If you check on your cache, do it as a walk by. If you are seen you don’t want to be hanging out in one spot and drawing attention to it. At most, if you are concerned you might be seen, act like you are checking your messages or something but avoid doing anything that may give it away.
- Take pictures. Lay out contents on a table, take a picture. When burying the cache, take lots of pictures of the cache location and everything around it. Take a picture of the cache in the hole (be aware for good or bad the gps location of the cache will be embedded in the pic). 1000 words… You can delete pictures if you are concerned but your cache report is just a big a security issue.
- Bury deep enough animals are not likely to dig for (primarily if you have food in it).
- Pace counts. Specify what your pace distance is and in units people understand, in addition to the count. Make sure those looking for the cache know that you are pacing off one leg or both.
- If you bury it in an area you are not from, don’t go looking for it while dressed like a complete outsider. Don’t draw attention to yourself miles before you even get to your cache.
- There should be some redundancy. If you have a compromised cache and it contains all of one thing like ammo, you may be screwed.
- Remember that when you go to put vaseline on the seals of ammo cans, those seals have two sides.
- Sometimes caches can be put in interesting places, each of which will have its own pros/cons and up to you to decide on whether its a good idea. To whit: hollow of a tree, septic tank, beehive, etc.
- Get a 100lb propane tank. Empty it, remove valve, fill with water, drain etc. When you drain it, the water can reeeeeeealy stink, so be prepared. Carefully mark a line about 3/4 of the way up from the bottom. Cut the tank into two halves. Braze a fitting that a 1 lb propane container will screw into, into the inside of the tank, over the exit hole. You may need to muck with the valve of the tank for this. On one part of the tank, weld or braze some thin strapping inside the tank to form a lip and something you can use to seal up the tank. Once all done, you can install a bottle of propane on the inside, make sure there are no leaks eh? Place the top onto the filled cache, seal it well with something like flex seal and mount the tank in a logical place that looks like you use it for something. Hold the tank up with a strap that goes around the tank, right where the split is. If someone checks the tank they can open the valve and propane will come out. This one is also nice because it is right under people’s eyes and its right where you can get at it.


